
Table of Contents:
Solve the most common audio, controller, and base station issues that occur on Windows 10 when using HTC Vive.
Setting up HTC Vive virtual reality on Windows 10 is not an easy task: everything looks confusing and incomprehensible from the very beginning. However, do not be afraid – most problems are of the same type and occur quite often. To solve them, we have collected all the methods and tools in one article. So, if you’re having trouble with VR, the first place to start is to read this article.
Troubleshooting on the PC Side.

Quite often, problems arise due to insufficient computer power. They can be eliminated after making amendments to the system settings:
- Run as PowerShell administrator. In the console, enter the following command: powercfg -duplicatescheme e9a42b02-d5df-448d-aa00-03f14749eb61 and then press “Enter” on the keyboard. Afterwards, the computer must be restarted. After that, in the “Power Options” settings section, the “Maximum Performance” power plan will appear. You can switch to it at any time;
- Check and, if necessary, update the driver for the video card;
- Select HTC-VIVE-0 as the default audio device.
- Always run Steam as an administrator – this will help you avoid most problems.
Troubleshoot audio issues.
Audio issues while using VR technology are usually easy to resolve as they are infrequent and usually easy to diagnose. Here are the most common ones:
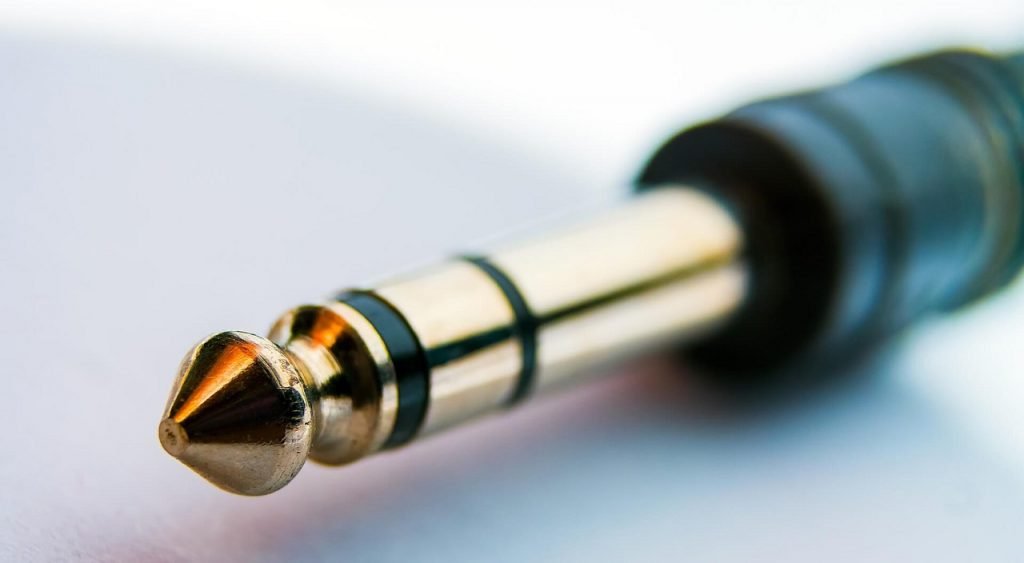
There is no sound through a special connector on the headset.
- First, make sure that the headphone plug is fully plugged in and locked into the jack;
- Check if the stereo sound is set correctly. To do this, right-click on the volume icon located in the notification area. Then open the Devices tab and select the desired device: HTC-VIVE-0 or USB. Now start testing – the sound should play in turn in each of the channels.
There is no sound at all.
This can happen if the wrong audio device is specified in the SteamVR settings. Open the SteamVR settings section and in the “Audio” subsection, check the box for the correct device.
USB headphones do not play sound when connected via the USB connector on the headset.
Make sure the correct audio device is set in the SteamVR app settings:
- Launch SteamVR and in the audio settings, check the “USB Headphones” checkbox.
Try specifying the desired audio device as the primary device for audio playback:
- Right-click on the sound icon located in the notification area;
- Open the settings section and find the desired device;
- Specify it as the main audio playback device.
If your USB headphones don’t show up in the list of available devices, then try checking the checkboxes for disconnected and disabled devices. After that, they should appear in the sound settings.
The audio signal is interrupted.
- Specify USB Audio Device as the main audio device;
- Make sure SteamVR is running;
- Check that the virtual reality headset is not “asleep”: move it in different directions.
Troubleshooting the controller.
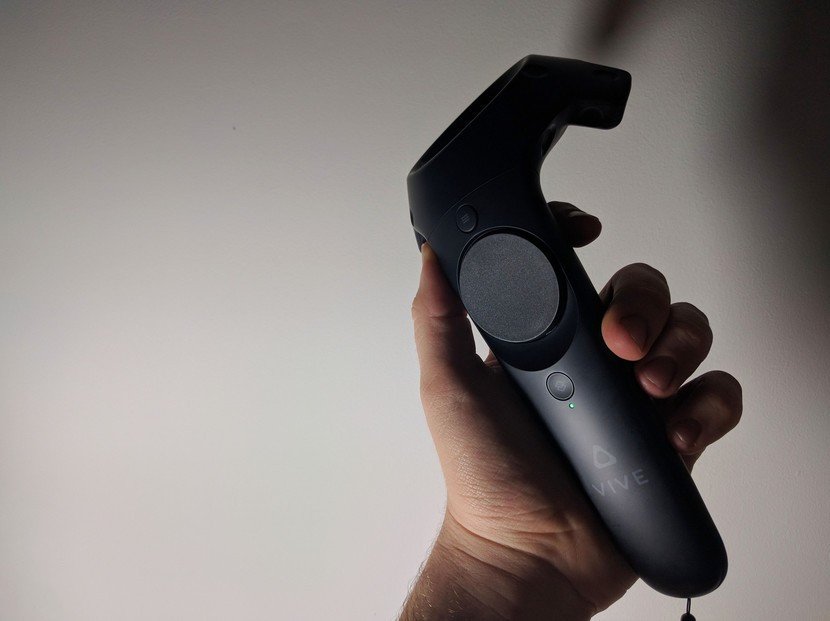
From time to time we get reports of problems with controllers. We have collected the most common problems reported by users and their solutions:
Trackpad.
- Install the latest firmware. You can do this in the SteamVR menu, in the device section;
- Press and hold the “System” button to turn off the controller;
- After the controller is completely turned off, press and hold the “Trigger” and “Capture” buttons, then, without releasing them, press “System”;
- When turned on, a different sound than normal sound will be heard. This means that the controller has turned on and calibrated.
LED indication.
- Green – the battery is charged, the controller is working and ready to work;
- Blue – connection initiated;
- Blinking blue – in connection mode;
- Orange – the battery is charging;
- Flickering red – almost empty.
Learn more about LED indication.
Doesn’t connect.
You need to reset your connection settings. To do this, press absolutely all the buttons at the same time, except for the “System” button, and connect the controller in this state to the PC using a cable.
Troubleshooting for Base Stations.
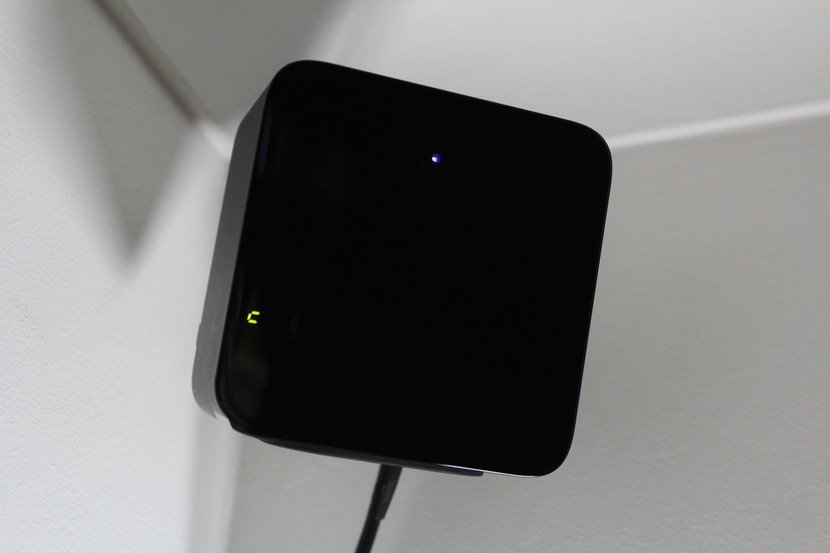
Base stations are included with the headset. Their purpose is to determine the position of the controllers. As practice shows, sometimes they do not quite successfully cope with this, giving the player a lot of headaches.
Not recognized when connected to USB ports.
In this case, most of the recommendations come down to contacting Steam technical support and sending them a copy of the system report.
The base station station is not detected.
- Launch SteamVR and go to the “Settings” section, in which open the “USB” section;
- Select Refresh to check the device status;
- Make sure base stations 1 and 2 are highlighted in whitish. If not, disconnect them from the computer. Plug them into a different USB socket;
- Wait a bit and look at the updated state of the devices.
Reset USB settings.
Often, a simple reset can fix most of the problems that arise during operation. You can reset as follows:
- Before proceeding with the reset procedure, make sure you disconnect all the wires connecting the VR headset and the computer;
- Launch SteamVR, open the settings window and select the “Developer” section;
- Uncheck all USB devices and confirm the removal of USB components;
- Close the application;
- Connect the cords and open SteamVR again.
Learn more about installing base stations.
Troubleshoot headset.
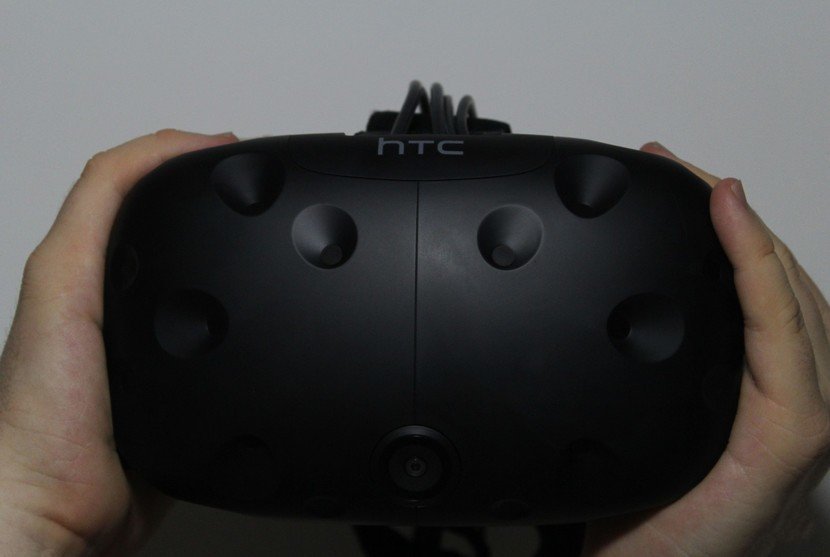
The headset is no exception and makes our list as well. Most often, we met complaints about two problems – we included them in the list:
Unable to detect headset.
- Check if you have connected all the wires correctly;
- To do this, connect the helmet’s three orange cables to the orange ports on the Link Box.
Blurred image.
This is often caused by incorrectly adjusted interpupillary distance (IPD). In order to set the appropriate parameters, do the following:
- Position the ruler in front of your eyes on your nose so that the markings are facing you;
- Close and do not open the left eye, but look at the ruler with the right;
- Place the ruler so that its end is located in the center of the eye, close the right and open the left eye;
- Look ahead with your left eye and remember the number you see;
- Write down the numbers that resulted from this measurement.
Now, having this important information, you will be able to independently change the IPD to a comfortable one.
We hope that after reading this article, you were able to fix all the problems that prevent you from enjoying virtual reality games on HTC Vive.