
Table of Contents:
Complex guide to solving the Pico Neo 3 headset connection problem: from checking the cables and ports to applying an unofficial solution.
If you’re facing an issue where your computer fails to recognize the Pico Neo 3 headset when connected via DP or USB-C cable, you can follow the steps below to troubleshoot the problem.
Check the Cable and Ports.
First, you need to ensure the issue isn’t due to physical reasons. The DP or USB-C cable you’re using might be damaged, or the port you’re connecting the headset to might not be working. Try using another cable or connect the headset to a different port on your computer. If the issue persists, move on to the next step.
Restart the Computer and the Headset.
Some software-related issues might be temporary and can be resolved after a reboot. In this case, restart your computer and the headset to remove any temporary software glitches. If this doesn’t help, proceed to the next step.
Reinstall StreamVR.
Some users have reported that reinstalling StreamVR helped them resolve the headset connection issue. To do this, first uninstall StreamVR from your computer, then download the latest version from the official site, and install it. After that, try connecting the headset to your computer again.
How to completely reinstall SteamVR is described in detail in this article on our website.
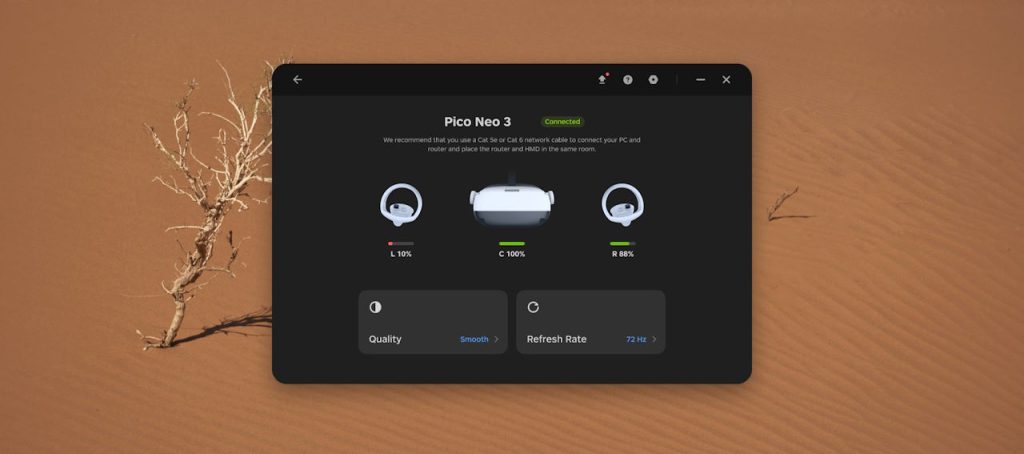
Use the Pico Link App.
If the issue still persists, consider using the Pico Link app. This app is designed for connecting the Pico Neo 3 headset to the computer in DP mode. To do this, launch the Pico Link app directly in the headset, go to settings, and select DP mode.
Factory Reset.
In case none of the previous methods helped, the last resort might be a factory reset of the headset. Note that a factory reset will erase all your personal data and settings on the device. Therefore, before proceeding with this step, ensure you have saved all important data.
Apply an Unofficial Solution.
If all the above methods didn’t work, you can try an unofficial solution found by one of the users. This solution involves copying a specific folder from the Pico Link installation directory to the SteamVR installation directory. Here’s a more detailed description of this process:
Locate the Pico Link Installation Directory.
- It’s usually located in the “Program Files” or “Program Files (x86)” folder on your computer’s system drive, unless you chose a different location during installation. The path might look something like this: C:\Program Files\Pico Link.
Find the “driver” Folder in the Pico Link Installation Directory.
- Inside the Pico Link installation folder, there should be a folder named “driver“. Open it.
Copy the “driver” Folder.
- Make a copy of the “driver” folder. You can do this by right-clicking on the folder and selecting “Copy”.
Navigate to the SteamVR Installation Directory.
- Now, locate the SteamVR installation directory. It’s typically in the “Steam” folder in the “Program Files” or “Program Files (x86)” folder. The path might look something like this: C:\Program Files (x86)\Steam\steamapps\common\SteamVR.
Paste the Copied “driver” Folder into the “drivers” Folder in the SteamVR Installation Directory.
- Inside the SteamVR installation folder, find the “drivers” folder. Open it and paste the “driver” folder you copied earlier. You can do this by right-clicking inside the “drivers” folder and selecting “Paste”.
Rename the Copied “driver” Folder to “pico”.
- Now, there should be a “driver” folder in the “drivers” folder that you just pasted. Right-click on this folder and select “Rename“. Then, enter “pico” and press Enter.
Restart SteamVR.
- Close SteamVR if it was open, and then launch it again. This will refresh the settings and allow SteamVR to see the new drivers folder.
- After completingall these steps, try connecting the Pico Neo 3 headset to your computer again via the DP or USB-C cable. SteamVR should now recognize your headset.
Keep in mind that this is an unofficial solution, and its effectiveness may vary depending on your specific computer and headset configuration.
We hope that these detailed steps will help you solve the problem with Pico Neo 3 connection to your computer. If the issue still persists, we recommend contacting the manufacturer’s support service or a service center.