Table of Contents:
If you want to get the best VR experience on your Oculus Rift headset, then you need to adjust your interpupillary distance.
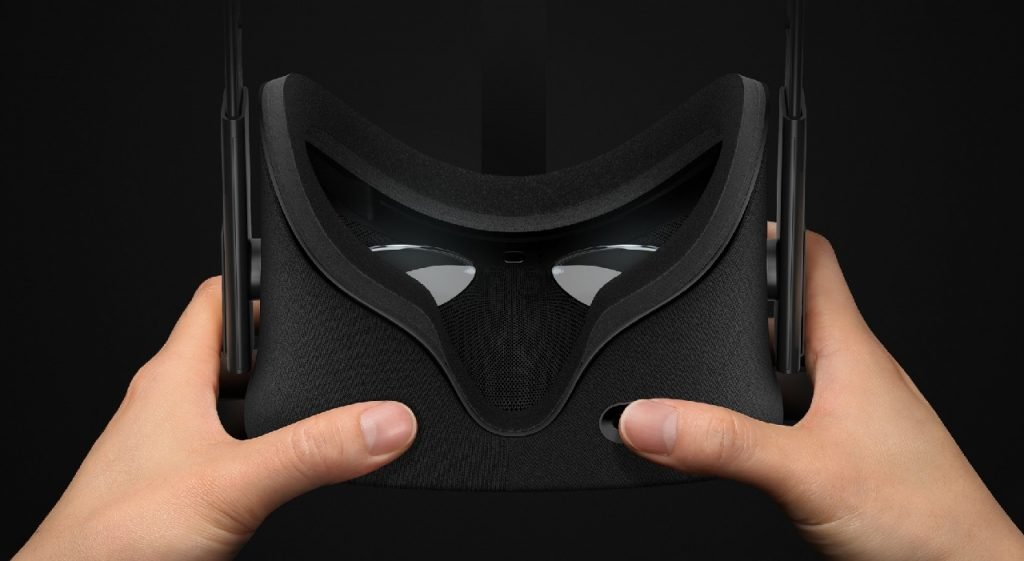
Proper wearing of the Oculus Rift without taking into account the distance between your eyes, also known as interpupillary distance, simply won’t work if you want the best possible VR experience. The lenses in your Rift need to be adjusted so that you can see as clearly as possible. Here’s how.
How to adjust IPD in Oculus Rift.
Before starting setup, plug in the Rift and launch the Oculus app to get the Rift to show something. Without an image, you won’t be able to find the right focus.
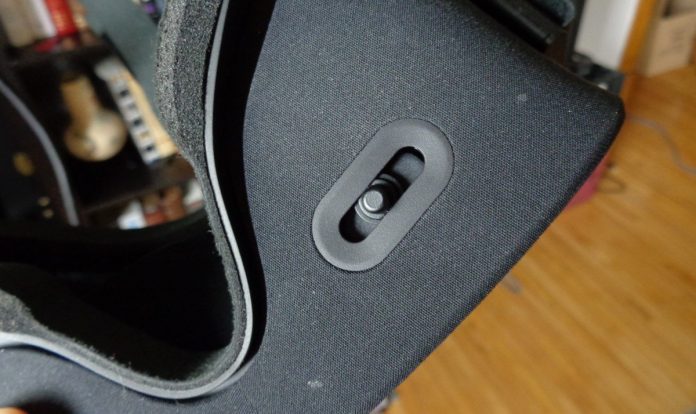
- Locate the adjustment slider at the bottom of the rift.
- Attach the Rift to your head properly – this article will show you how to do it.
- Press and slide the adjustment slider left or right until you find the right focus.

How to find out your interpupillary distance value?
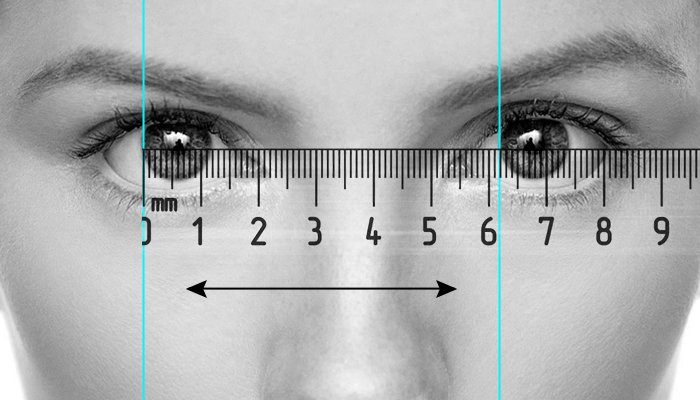
To set the correct value of the interpupillary distance, you must first know it. The most accurate method will be an appeal to an ophthalmologist, but you can also cope with underbelly methods.
If your home has a regular ruler and a mirror, then you have almost everything you need. Just go to the mirror, put a ruler on top of the eyes so that Zero is in the middle of one of the pupils. Fix the ruler and look at the other eye.

This is all that needs to be done. A little adjustment will make a huge difference, especially if you experience any eye strain while in VR.

