
Table of Contents:
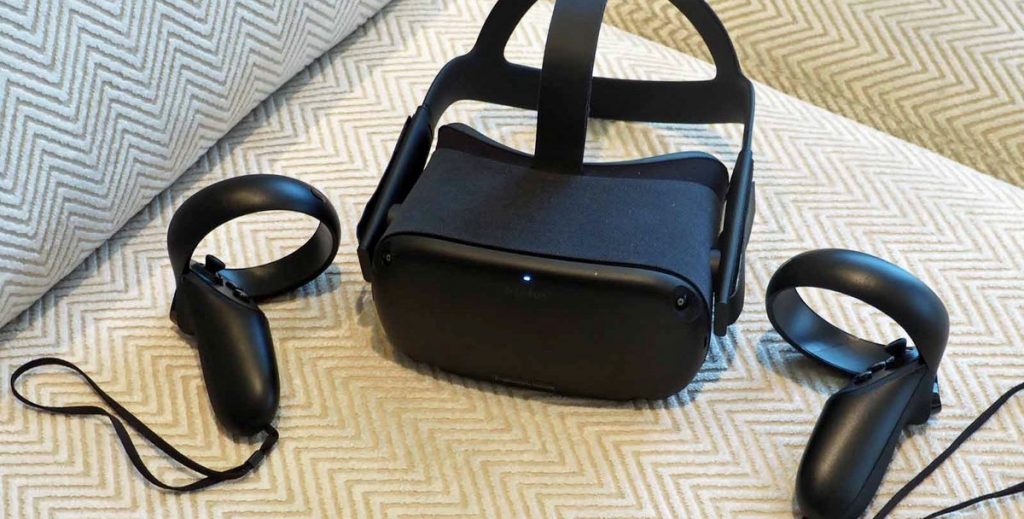
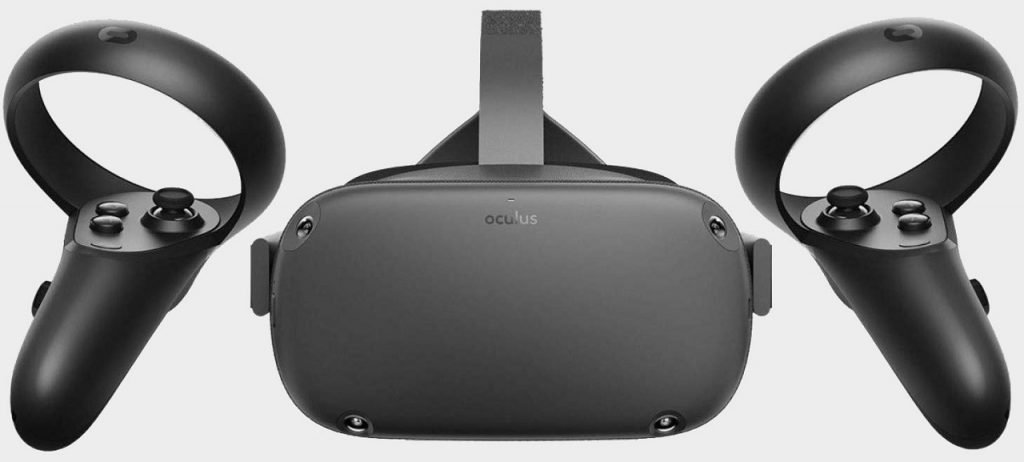
In this guide, we’ll take a look at the most common Oculus Link issues you may encounter while using Oculus Quest.
Since Oculus released the beta version of Oculus Link for Oculus Quest, there have been numerous software updates, each with its own unique fixes, but also new critical bugs. With each new update, Quest owners have struggled to find solutions to the same problems like black screen, frequent shutdowns, or slow performance.
In this guide, we’ll look at the most common (and most annoying) issues you may encounter while setting up or using Oculus Link, as well as the current solutions to fix them.
Can’t connect Oculus Quest to computer
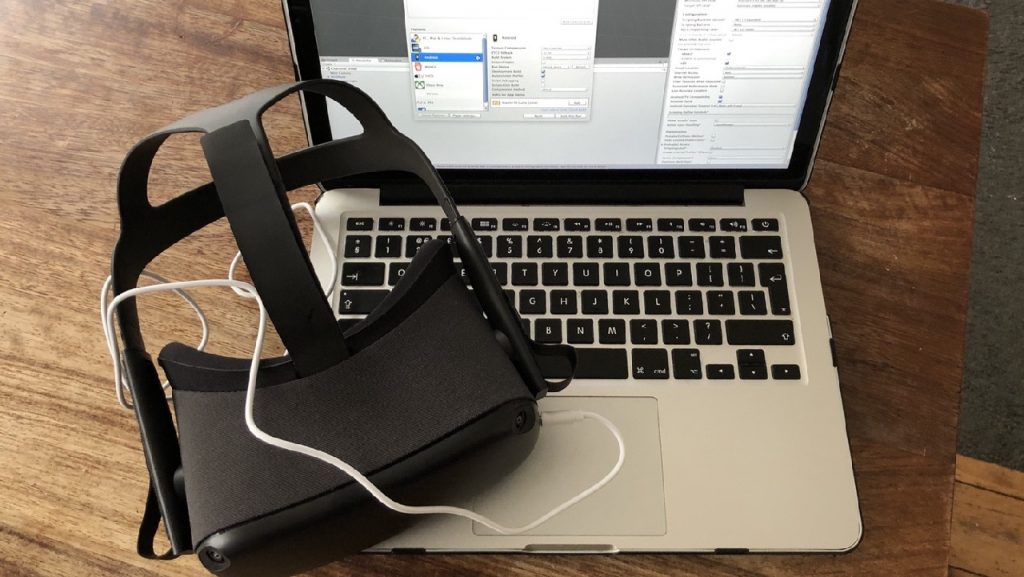
One of the biggest hurdles for most users is simply getting their computer to detect an Oculus Quest USB connection. Remember that it should immediately notify you of a successful connection. If this does not happen, then many different problems can be the cause. Therefore, we recommend starting with this comprehensive checklist:
- Completely disconnect the connecting cable (both ends).
- Make sure you are using either the official Oculus Link cable or the recommended third party Anker USB 3.0 cable, not the charging cable.
- Navigate in the PC Oculus app to Settings > General > OS Version.
- In the Oculus app, go to Library > Updates and install the latest developer updates.
- If you have the Public Test Channel beta enabled, disable it. Please note that PTC includes the latest software fixes and may be required in the future.
- In Quest, go to Settings > View All > About > Version.
- If necessary, update the Quest OS to the latest version. It must be 11.00 or higher.
- Make sure the Quest software and PC software have the same version numbers, otherwise they may not be compatible.
- Turn your Oculus Quest off and on again.
- Restart your Oculus software by going to Settings > Beta > Restart Oculus.
- Reconnect the connecting cable.
We hope you will see a prompt from the PC software to add the Quest as a new device, as well as a headset connection pop-up. If you don’t see these prompts, or if you’re experiencing any other issues, try the following:
- Log out and log in to the PC Oculus software.
- Try looking in your Oculus Quest settings for the “Enable Link” option.
- If you see a notification asking you to allow access to data, select the Deny option.
Quest connects and then quickly crashes
Many users complete the above steps without issue and even successfully connect Quest to their PC. And all this only for the program to crash, sometimes in just a few seconds. This problem can have different origins, but it is most likely related to your computer hardware.
- Go to the settings of your PC or laptop and find the specifications of the GPU, CPU, memory, operating system and USB ports.
- On this page, you will find a list of PC requirements and a list of supported GPUs for the Oculus Link beta.
- Compare the specifications of your computer with the minimum requirements. If you have a laptop, the likelihood that it will have the power necessary to support PCVR is less.
- If your GPU is not listed in the Oculus chart or is listed as “Currently Not Supported”, your device may still work, but performance issues are more likely until Oculus adds official support.
Link-enabled games don’t work well
And now you finally managed to get Oculus Link working, but you are not happy with the performance with which they work. Considering we’ve successfully run several graphics-heavy games via Oculus Link, any issues probably can’t be attributed to the Quest’s hardware. Most likely, this could mean problems with your PC’s power, current software build, or connection cable.
Start with a compatibility check. This link contains a list of minimum VR requirements and supported GPUs. If you’ve used a PC to power your Oculus Rift S, it should likely be able to handle the demands of the Oculus Link just as easily.
Then try connecting your Oculus Link to a different USB 3.0 port. Your problems may be due to a “weak” USB port that cannot handle transferring that much data for an extended period of time. If you’re connected to the front USB port, switch to the rear port – it tends to have more power – and see if performance improves. If not, open the Windows Device Manager on your computer and check the USB power saving settings. If necessary, disable any power saving.
The sound in the headset or the microphone does not work
During beta testing, there were just too many issues with Quest’s headphones and microphone when using Oculus Link, and each version of the software has its own quirks. The latest OS version at the time of publication (14.0) restored access to the microphone during the game using Link, and also added audio settings to Quest Dash, so we (again) recommend updating to the latest version of the OS as the most simple and painless solution.
If after the latest update you find that the Quest is not playing audio or the Oculus software on your PC does not recognize the Quest headphones as an audio device, you are not alone. Many users have recently encountered this issue, and the Oculus Quest subreddit posted the following steps as a solution (keep in mind that we haven’t encountered this issue, so we haven’t tested the solution ourselves):
- On your computer, press the Windows key + R to open the Run dialog box.
- Enter mmsys.cpl and click OK
- Scroll through the Sound menu and find Oculus Virtual Audio Device.
- Right-click on “Oculus Virtual Audio Device” and select “Properties”.
- On the General tab, rename the device to Headphones. Click OK.
- On the Recording tab, look for the microphone icon with the Oculus Virtual Audio Device listing.
- Right-click the icon and select Properties.
- On the General tab, rename the device to Headset Microphone. Click OK.
- In Windows General Settings, set your Oculus Headphones and Microphone as the default audio devices.
- Restart your computer.
The default height is incorrect
When you are in a VR game, you will notice that you are much taller than you really are. For example, when we tested the Arizona Sunshine, the device placed us at 4.5 meters and our field of view was at the level of the rooftops. To fix this, you will have to disconnect the headset, then reconnect it to the computer and restart the game. We tried using the in-game calibration options, but they didn’t work.
None of the above
With each new update, Oculus tries to fix the above problems, but inevitably finds ways to repeat them over and over again – and even add new ones. With each new update, we will try to keep you up to date with the latest Link bugs and keep this guide up to date with new solutions.
If you encounter an error that we did not describe above, please let us know and we will try to find a solution and add it to the list. We also encourage you to submit a support ticket directly to Oculus.