Table of Contents:
How to fix common problems when launching SteamVR application using the usual tools available to any user.
With the rapidly growing number of virtual reality headsets in the world, Valve’s SteamVR platform is now more relevant than ever. Even though the list of SteamVR bugs has been known for a long time, it has been significantly reduced.
Valve improves its product by releasing updates and improvements that allow you to automatically diagnose the problem and fix it without user intervention.
But what if you decide to play and SteamVR won’t launch? We offer to consider the most common problems and how to solve them in order to return you to the world of virtual reality as quickly as possible.
Run Steam as an administrator.

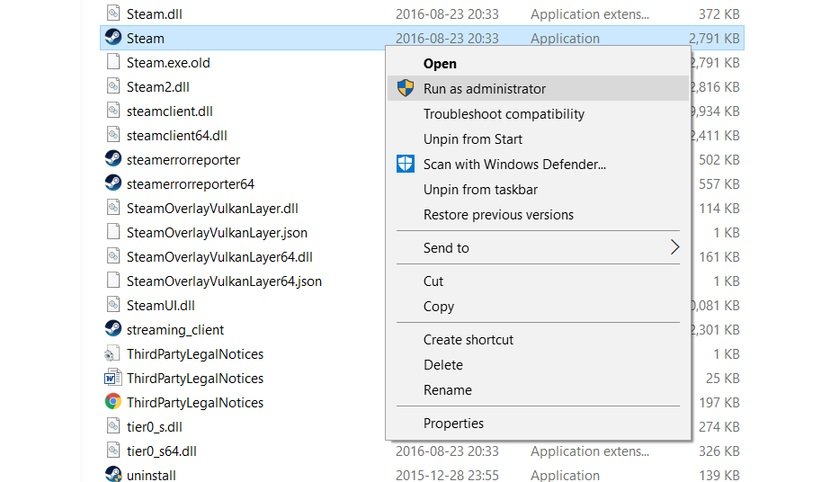
The cause of many problems is related to Steam permissions, which can affect the operation of the program. Solving this problem is simple: the program must be run as administrator, this will increase access rights to Windows. For this:
- Log out of Steam;
- Navigate to C:/Program Files/Steam (may be different if you changed the Steam installation path);
- Find Steam.exe
- Right-click “Files” and select “Run as administrator”.
Verify the integrity of the SteamVR Tool cache.

One of the most common causes of SteamVR startup issues is corrupted or missing files. With only one file missing, SteamVR is potentially unusable, but it can be easily fixed using the Steam client. By verifying the integrity of the tool cache, Steam will automatically replace any corrupted or missing files.
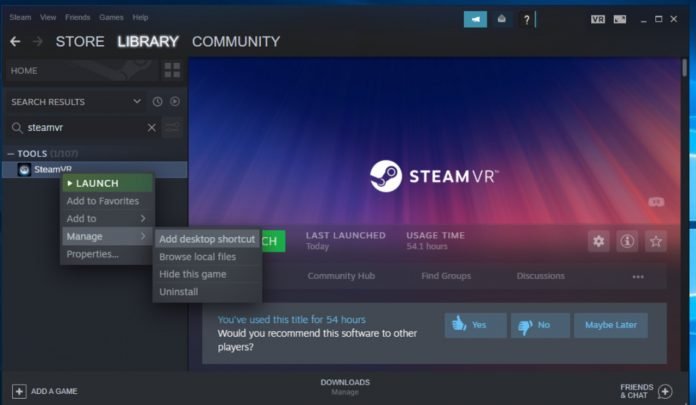
- Open the “Library” dropdown in the Steam desktop app;
- Select “Tools” from the drop down list;
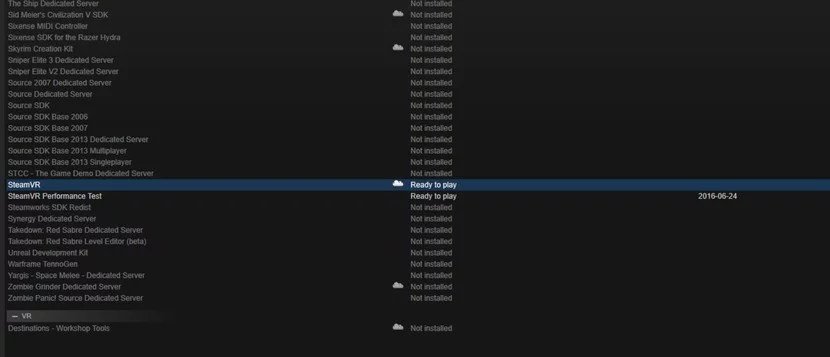
- Look for SteamVR in the tool library;
- Click on the “Local Files” tab;
- Click “Verify Integrity of Tools Cache”.
Reinstall SteamVR.
If you’re still having problems after verifying the integrity of the cache, you may need to reinstall SteamVR. This can be done in a similar way without changing the basic settings or reinstalling the main Steam client.
- Open the “Library” dropdown on the Steam client computer;
- Select “Tools” from the drop down list;
- Find SteamVR in the tool library;
- Right-click SteamVR and select “Properties”;
- Click on the “Local Files” tab;
- Click “Delete Local Tool Contents”;
- Double click SteamVR in the tool library to start the reinstallation process.

Check for software conflicts.
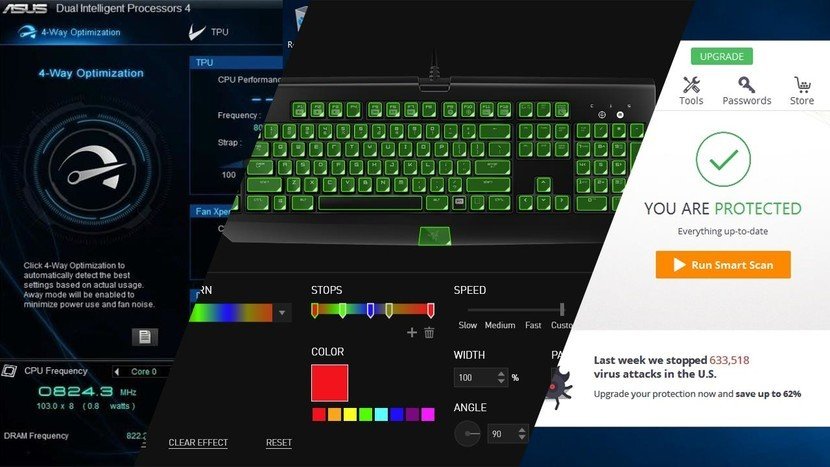
SteamVR is known to conflict with a small number of known programs. If you are having problems with SteamVR, Valve recommends that you make sure that the following programs and hardware are not installed on your computer (if any, uninstall them):
- Razer Synapse;
- Asus AI Suite;
- Avast antivirus;
- JDS Labs ODAC USB audio device;
- Older Apple Cinema displays with devices connected via USB;
- TP-LINK 300Mbps Wireless N PCI Express Adapter TL-WN881ND.
Are you still experiencing problems?
Although we have collected the most common solutions for startup problems, many situations cannot be eliminated with the help of this guide. If you couldn’t solve your problem, be sure to let us know in the comments section below – we’ll try to help!

