
Table of Contents:
Step-by-step instructions for setting up the Playstation VR and connecting to the Sony Playstation console for the first time.
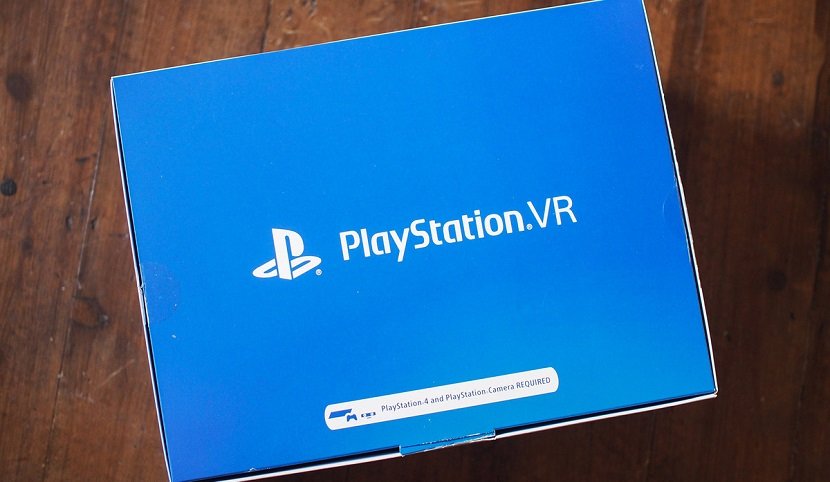
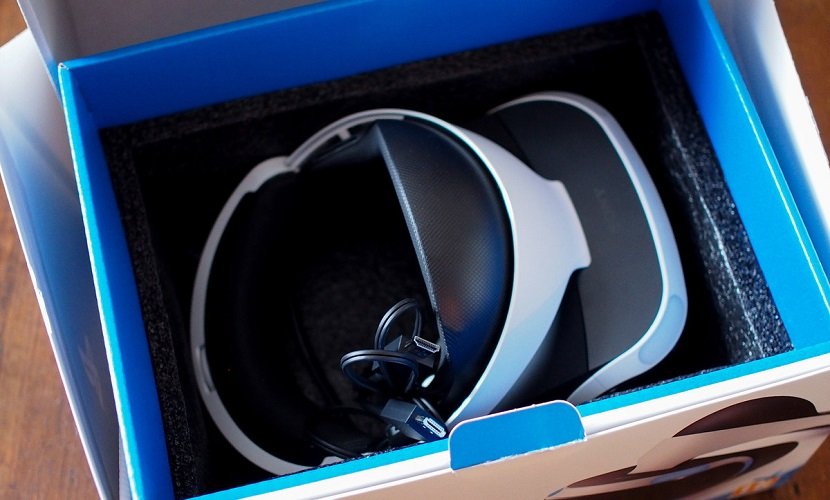
So, you’ve finally bought your long-awaited PlayStation VR and, overwhelmed by the excitement of being able to use a VR headset on your PlayStation console, you’ve brought it home. Before you can enjoy your VR headset in your favorite game, you need to set everything up first. Everything you need for this is right inside this big blue box.
While Sony has included a pretty impressive set of custom setup instructions with the headset, there are a few tips and tricks to help make the initial setup process easier and faster.
Think over and prepare the play space.
Before you start connecting, you need to make sure you have enough space to move around freely.
The PlayStation VR doesn’t require as much space as the HTC Vive, for example, but you don’t want to be constrained by being close to your TV or desk. Most games will require you to position yourself correctly in front of the camera before launching, which will follow the movements.
In most cases, you will need about 2 meters of free space in the room for proper tracking from the PlayStation camera. This means you need enough room to move back, forward or side to side without bumping into anything or anyone passing by. Getting maximum comfort from your gaming space may take some time, but later, you can not worry about the possible obstacles of this perishable, real world and completely immerse yourself in the virtual.
Step by step instructions for setting up PlayStation VR.
Once you’ve decided where you want to play, and have your TV and console properly connected, it’s time to start setting up your PSVR.
If you bought a ready-made kit, and not just a headset, then everything you need should be in the box. As well as instructions on how to put everything together. However, you can simply follow our step-by-step instructions to make sure you get the right connection without worrying about the extra details.
- Turn off your PlayStation completely. Don’t leave it on standby.
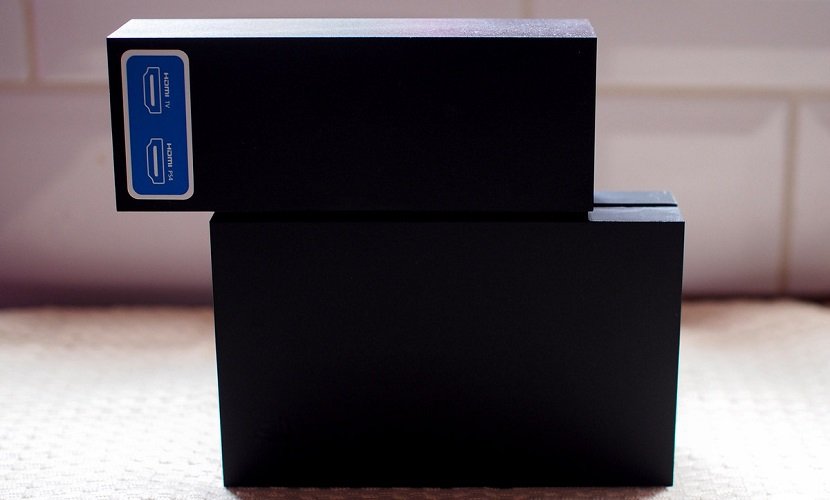
- Remove the HDMI from the back of the PlayStation and place it into the HDMI TV port on the Playstation VR Processing Unit.
- Make sure the PlayStation Camera is connected to the Aux port on the back of the console.
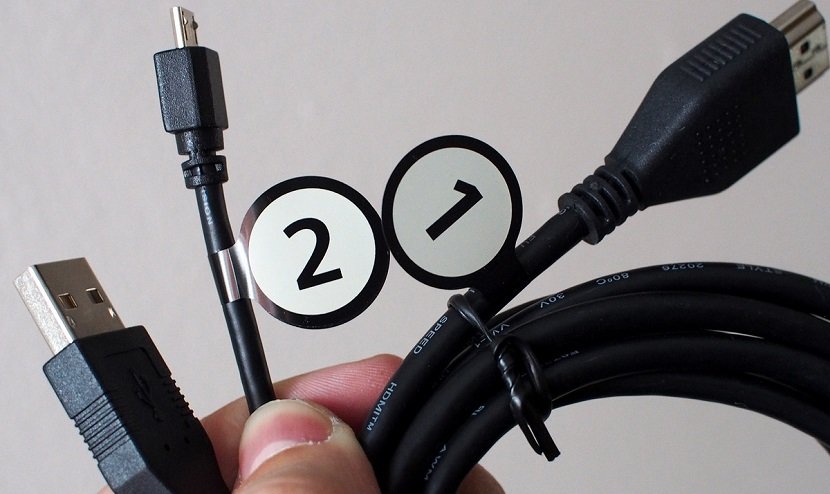
- Take the HDMI cable marked with number 1 and connect it to the PS4 HDMI port on the Processing Unit and to the HDMI output on the PlayStation 4.
- USB cable labeled number 2, connect to one of the PlayStation 4’s USB ports and the other end to the processor unit.
- Connect the power adapter to the processor unit.
- Slide the cover on the processing unit and connect the VR headset cable number 4.
- The connectors will only fit the correct ports, but are provided with DualShock controller button logos just in case.

- Connect your PlayStation VR headset to the cable connected in steps 7 and 8.
- Again, compare symbols for convenience.
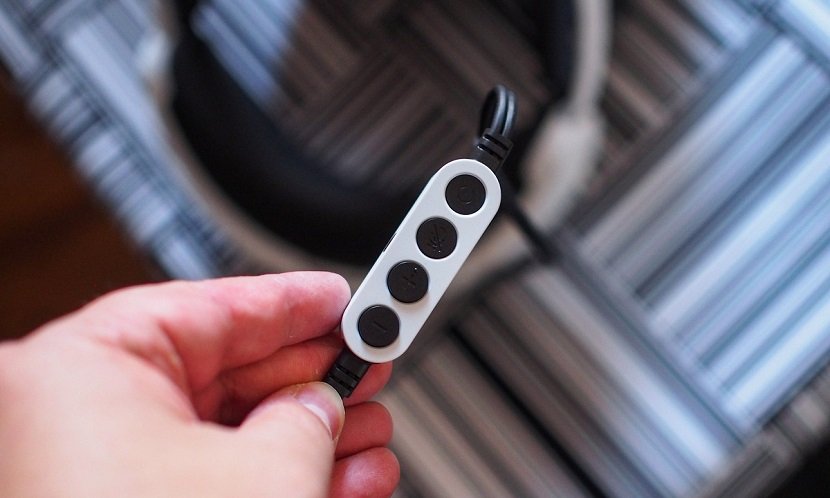
- Connect the included headphones or your own to the built-in remote control.
- Turn everything on!
When you turn it on for the first time, you will need to perform a few basic steps to set up the headset and, most likely, update the software. It is very important to install all suggested updates. Just follow the instructions on the screen. Sony has made this process as intuitive as possible.
Tips for setting up PlayStation VR.
So far, we’ve talked about how to set up a headset. But here are some tips that you won’t find in the official guide:
- Make sure that in the view of the PlayStation camera, there are no lights other than the helmet itself. LED lights or a window, for example, can interfere with the tracking of glowing elements on the headset, which in turn will affect the overall quality of the gameplay. The darker your room, the better your motion tracking will be.
- There are many cables connected to the PlayStation VR. No matter how hard you try, they will still get in the way a little, but since the headset cable will be on the left side of the head, if possible, position the processor unit on the left as well. This way you won’t get tangled in the cords.
- Charge all controllers! As silly as it sounds, make sure you charge your Move and DualShock 4 controllers before using your PlayStation VR. Nothing is more annoying than removing your headset to recharge your controller…
Make sure you’re comfortable with the headset before you start. VR is a whole new experience compared to anything you’ve experienced on PlayStation before, and the process can take a long time. Proper adjustment and comfortable wearing of a helmet is very important for long games.
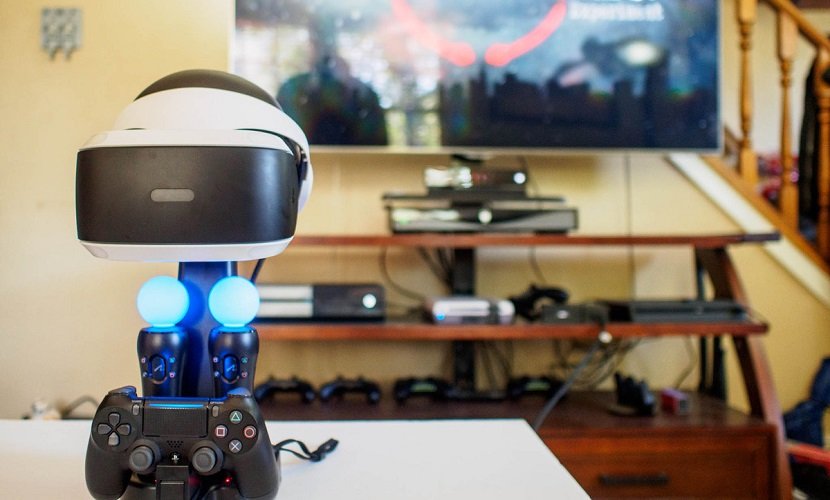
Playstation VR set up and ready to use! It’s time to play.
If you have any tips for setting up PSVR; nuances during installation and connection, which you should pay attention to – be sure to share them in the comments! New headset users who benefit from this information will be sure to give you a virtual thank you.